Listen to this episode of You Got This!
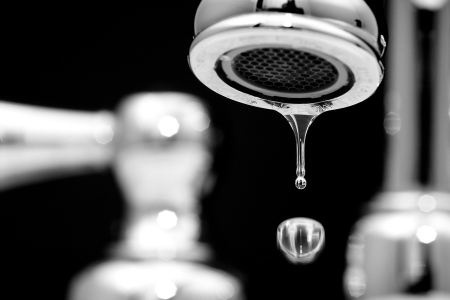
 A leaky faucet can be annoying, wasteful, and costly. It can also cause damage to your sink, countertop, or floor if left untreated. Fortunately, fixing a leaky faucet is not that hard and you don’t need any special tools or skills. All you need are some basic tools like a wrench, a screwdriver, and some plumber’s tape. And of course, you need to turn off the water supply before you start.
The first step is to identify the type of faucet you have and the source of the leak. There are four main types of faucets: compression, cartridge, ceramic disk, and ball. Each one has a different mechanism and a different way of fixing it.
You can tell the type of faucet by how it operates. A compression faucet has two handles that control hot and cold water separately. A cartridge faucet has one handle that moves up and down to control water flow and left and right to control temperature. A ceramic disk faucet has one handle that moves in a smooth circular motion to control both water flow and temperature. A ball faucet has one handle that swivels on a ball-shaped cap.
The source of the leak can be either the spout or the handle. If the spout is leaking, it means that the seal or washer inside the faucet is worn out or damaged. If the handle is leaking, it means that the O-ring or gasket around the stem or cartridge is worn out or damaged.
Listen to this episode of You Got This!
Once you know the type of faucet and the source of the leak, you can proceed to fix it. Here are the general steps for each type of faucet:
– For a compression faucet, you need to replace the washer or seal inside the faucet. To do this, you need to unscrew the handle and remove the stem. Then you need to remove the old washer or seal and replace it with a new one of the same size and shape. You may also need to apply some plumber’s tape around the threads of the stem before reassembling the faucet.
– For a cartridge faucet, you need to replace the cartridge inside the faucet. To do this, you need to remove the handle and the decorative cap. Then you need to remove the retaining clip or nut that holds the cartridge in place. Then you need to pull out the old cartridge and insert a new one in its place. You may also need to apply some plumber’s tape around the threads of the cartridge before reassembling the faucet.
– For a ceramic disk faucet, you need to clean or replace the ceramic disk inside the faucet. To do this, you need to remove the handle and the decorative cap. Then you need to unscrew the disk assembly and lift it out. Then you need to clean any debris or mineral deposits from the disk using a soft cloth or a gentle cleaner. If the disk is cracked or damaged, you need to replace it with a new one of the same size and shape. You may also need to apply some plumber’s tape around the threads of the disk assembly before reassembling the faucet.
– For a ball faucet, you need to replace the ball assembly inside the faucet. To do this, you need to remove the handle and the decorative cap. Then you need to unscrew the collar that holds the ball assembly in place. Then you need to lift out the ball assembly and replace it with a new one of the same size and shape. You may also need to replace any worn out O-rings or springs that are part of the ball assembly.
After fixing your leaky faucet, you need to turn on the water supply and test your faucet for any leaks or drips. If everything is working fine, congratulations! You have successfully fixed your leaky faucet in 10 minutes or less. If not, you may need to tighten some connections or repeat some steps until you get it right.
On a related topic, let’s chat quickly about five of the most useful tools that a DIYer can use when they are working on their home plumbing:
• Pipe wrench. This is a heavy-duty wrench that can grip and turn pipes, nuts, and fittings. You may need two pipe wrenches to hold one part steady while turning another.
• Basin wrench. This is a special wrench that can reach and tighten or loosen the nuts under the sink that hold the faucet in place.
• Tubing cutter. This is a tool that can cut plastic or copper pipes and tubes with a steel wheel. It can make precise and even cuts for well-fitted joints.
• Plumber’s tape. This is a thin and flexible tape that can seal or prevent leaks at threaded joint connections in piping. It is resistant to high and low temperatures and can stretch for better coverage.
• Plunger. This is a simple but effective tool that can clear clogs in drains, toilets, sinks, and tubs. It uses air pressure and suction to dislodge the blockage.
